If you plan to renovate your house, you must know how removing the tile floors can be a complicated and time-consuming task. The difficulties are often hidden until the work begins, and you have no idea how to finish this mess.
Despite dozens of difficulties, it is one of the tasks you can do yourself if you know how to do it properly. Depending on the construction, your tile can be fixed to mason or plywood board underlayment, directly to bare cement, or even a previously installed floor. Regardless of what underlies, removing the tile floors requires effort, time, and care to ensure that the surface is ready for whatever is placed next.
So, is there a best way to remove the tile floors? Yes! There is, and it all depends on how well you execute the project. So, let’s get started with it.
How to Remove Ceramic Tile From Concrete Floor
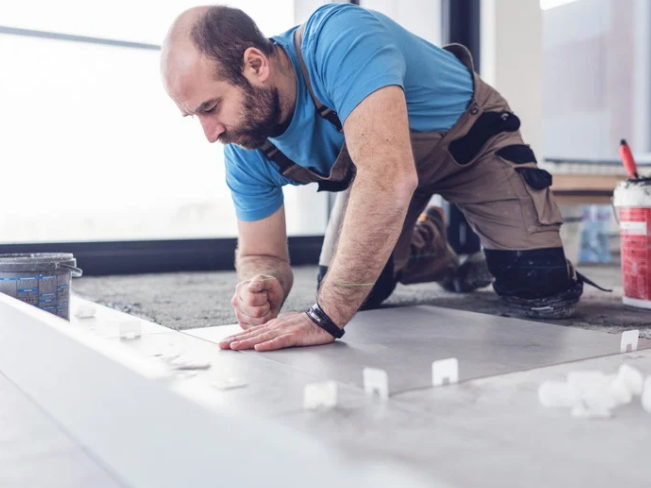
Step 1: Examine the Project
Before starting, you must take a look at the project. Is the tile you are planning to remove from the guest room or kitchen? Remember, the more tile you remove, the more complex and prolonged the job will be.
For instance, removing tile from the kitchen could make preparing food extremely difficult for several days. Also, this goes without saying that dust from work might end up on cooking surfaces and inside cabinets.
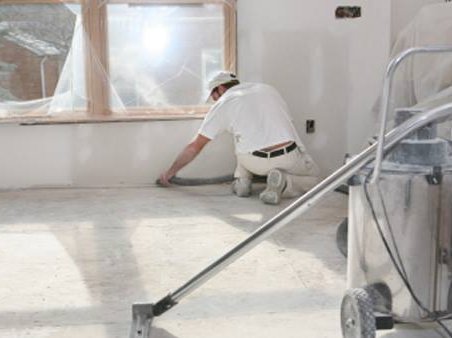
Step 2: Remove the Fixtures
Before diving in and removing your tiles, prepare your rooms for work. This straightforward process would help you set yourself up for success whilst protecting your belongings.
As previously stated, tile removal is a dusty job. You do not want your ventilation system clogged with tile and debris. Therefore seal off your vents with plastic wrap and painter's tape. Remove any baseboards from your walls with the help of a hammer or screwdriver. Be careful as you might want to install them once this job is done.
In case of bathroom tile removal, disconnect any fixtures that might obstruct the tile removal from the room. Before extracting a toilet or sink, switch off the water supply. Drain the tank, remove bolts, and sand the fixture to interrupt the wax seal before detaching a toilet. We recommend calling a plumber to remove and re-install any fixtures with waterlines.
If you can't move something but don't want that to get covered in debris, such as a kitchen counter, cover it with a tarp.
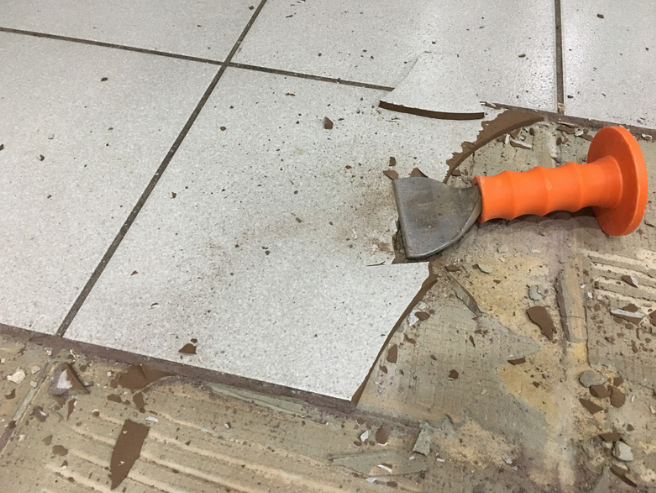
Step 3: Make a Starting Point
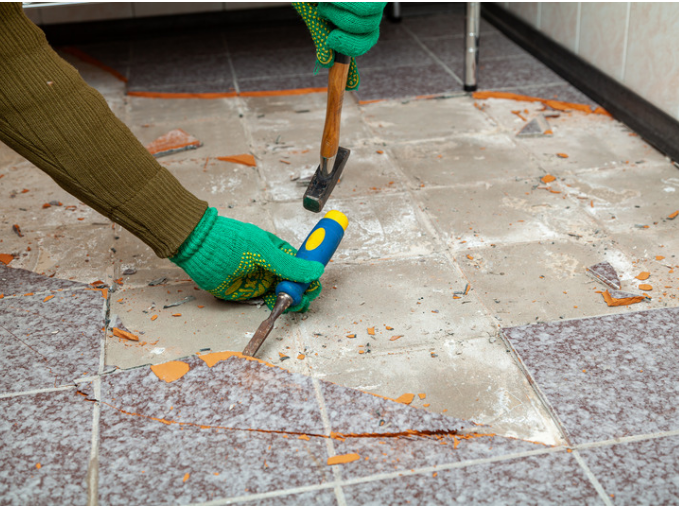
If the tile was installed around a semi-permanent fixture or a vanity, a rough edge would be revealed, giving an excellent place to start when removing tiles. If your tiles are wall-to-wall, a hammer or a chisel may be required to break out the tile to create a beginning point for tile removal. Tiles can be attached with mortar or adhesives and come up easily or with great difficulty, depending on how they were attached and the underlayment type beneath them. To remove tiles, use a chisel and hammer or pole scraper.
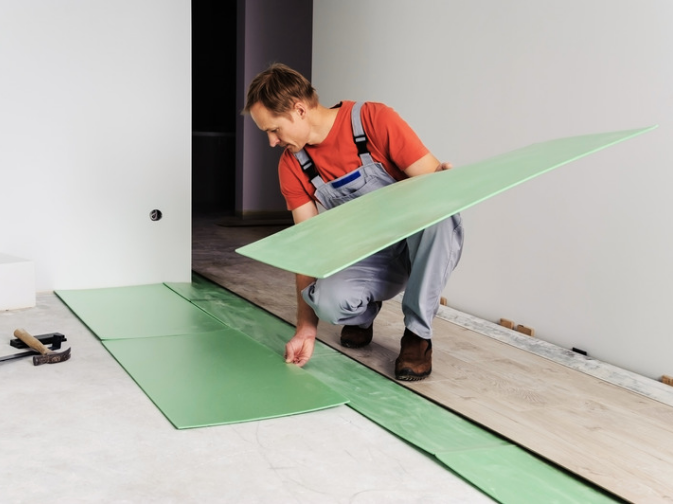
Step 4: Find out What's Beneath Your Tile
The next step is to examine what’s beneath a tile after you’ve pulled it up. The method for removing tile differs based on whether the underlayment is cement, plywood, or a thick bed of mortar and whether you want to salvage the underlayment.
If your underlayment is plywood, one method is to extract tile rows along the length of your floor.
Then, use a 12-inch-long reciprocating saw blade, and trim the plywood in both directions, but be careful not to cut into the subfloor.
If your underlayment is destroyed by water or torn up, it might be time to remove it. Here’s how you can do that:
Your underlayment has so many screws. Extract the visible ones
Lift the underlayment up with your screwdriver. Don’t be concerned if it breaks because you won’t be reusing it
Continue prying until all of the underlayment is removed
Step 5: Remove the Tile
This is the point at which the actual work begins. Once you have established a starting point and determined what's beneath, you can concentrate on removing the unwanted tile.
The most common method is to work a pry bar underneath the tile and lift it up. The tile will usually appear in bits, but if you're lucky, it will appear in one piece. To break the tile into removable tile pieces, you can also employ a hammer and chisel or strike it with a center punch.
Once you've stacked enough tiles, use a floor scraper or an air hammer with a chisel set to extract most of the tile. These tools will not only make the process go quicker, but they will also reduce the time and effort required to lift the tile up. As you get closer to cabinets or walls, be prepared to use the chisel or pry bar again. Remember that this section of the job will take some time. Don't be deterred if it takes longer than expected.
Also, here’s the tip, try not to use too much force while working, as this could cause deterioration to the floor or perhaps even personal injury. Scoop up larger chunks of tile with a shovel and place them in a bucket.
Step 6: Examine the Floor
When you've completed removing all the tiles, sweep or vacuum the subfloor to remove any debris. Then, tap away as much of the mortar as doable with a sledgehammer and chisel. Any debris not removed will make it more difficult for proper installation of the new flooring and can void the warranty. In some cases, renting a floor sander is best to ensure all mortar is removed and the floor has a smooth surface.
Before you begin, determine the type of flooring you plan to replace your tile with and the sort of underlayment required. Tiles might have been affixed closely to a concrete floor or subfloor, but mortarboard or plywood underlayment is more common. Underlayment that is inappropriate or damaged should be replaced. In most scenarios, it is best to remove as many layers of the flooring as possible. If the subfloor panels and plywood underlayment are in good condition, typically it is safe to reuse them when installing new flooring. Any rancid wood or holes in concrete floors should be repaired or replaced.
Final Word
Removing tile floors can be tricky if you don’t know how to do it properly. If you are struggling with your tile project you can contact us for assistance. Also if you’re in the market for new flooring, you can check out a few of our tile options or browse our other flooring options.

